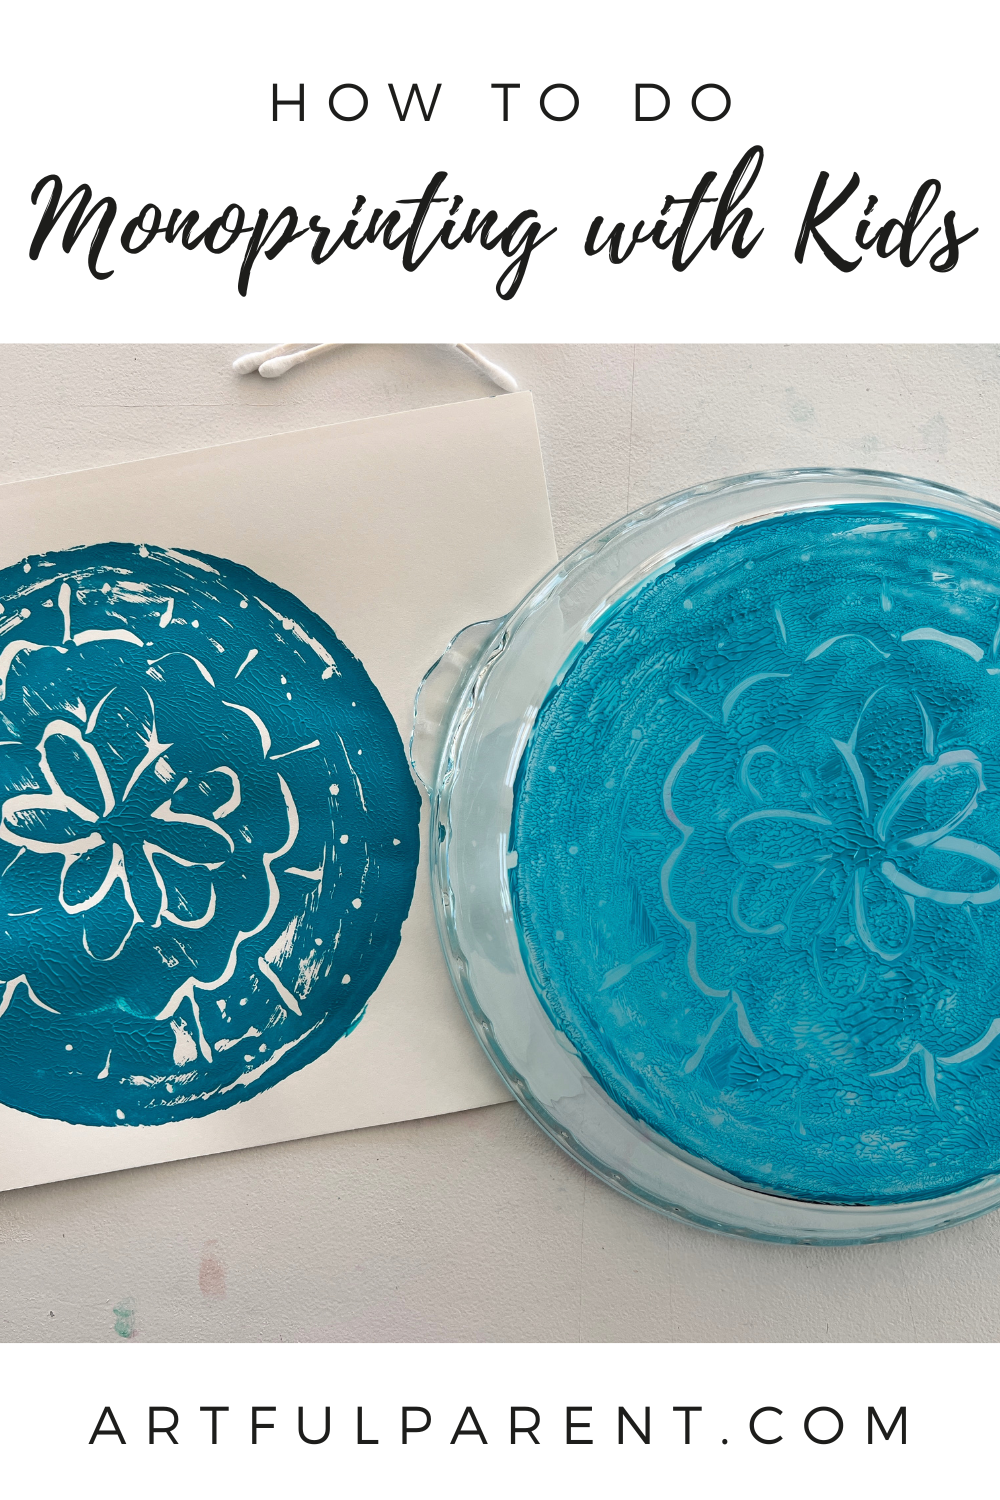
Learn the easiest way to do monoprinting with kids. Simply spread paint on the bottom of a pie plate and draw a design with a Q-tip.
Updated April 2025
Monoprinting a super easy and super fun printmaking technique for kids of all ages.
It doesn’t require any fancy equipment, and instead of making many prints of the same image (which most kids have no interest in doing) they can print something different each time. They can use different colors and imagery.
They can also experiment and see the results right away, which is always a plus when exploring art techniques with kids.
Here’s how you can do easy monoprinting with your kids.
First, check out this video of the monoprinting process, then keep scrolling for step-by-step instructions.
Ready to explore fun printmaking projects?
Discover our best ideas for creative kids!
Monoprinting with Kids the Easy Way

MATERIALS
- A pie plate or baking dish (or an acrylic box frame if you have one)
- Mini paint roller or brayer
- Tempera or acrylic paint
- Q-tips or cotton swabs
- Paper
INSTRUCTIONS
- Roll out paint
Squeeze some paint onto a shallow dish or plate. Roll the mini paint roller in the paint to coat it evenly with paint.
Then roll a layer of paint over the bottom of a pie plate or on a box frame.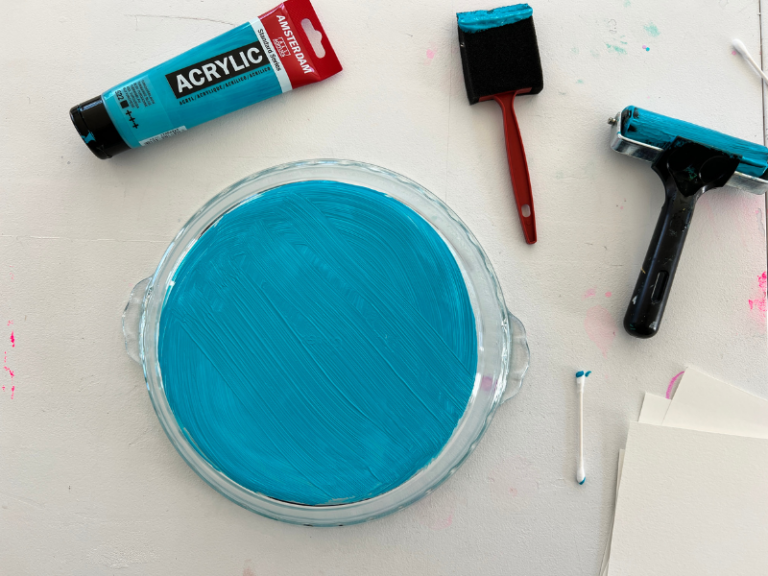
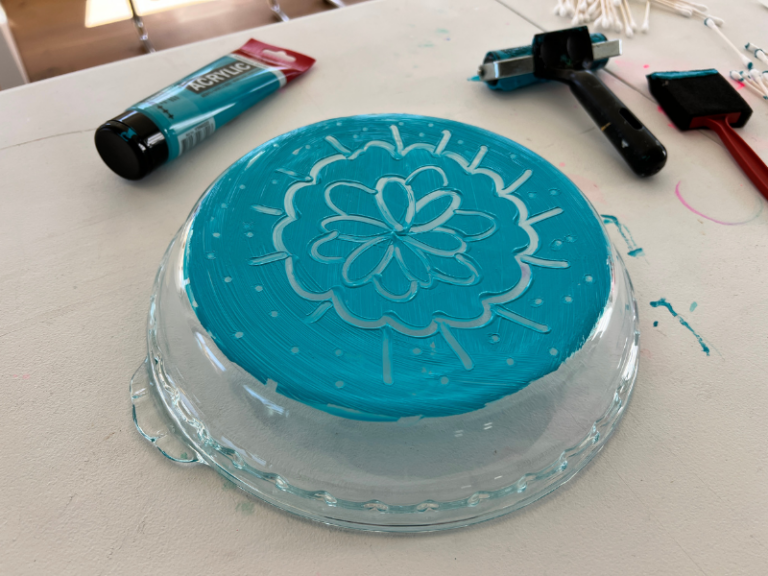
- Draw your design
Use a Q-tip to draw on the paint-covered dish.
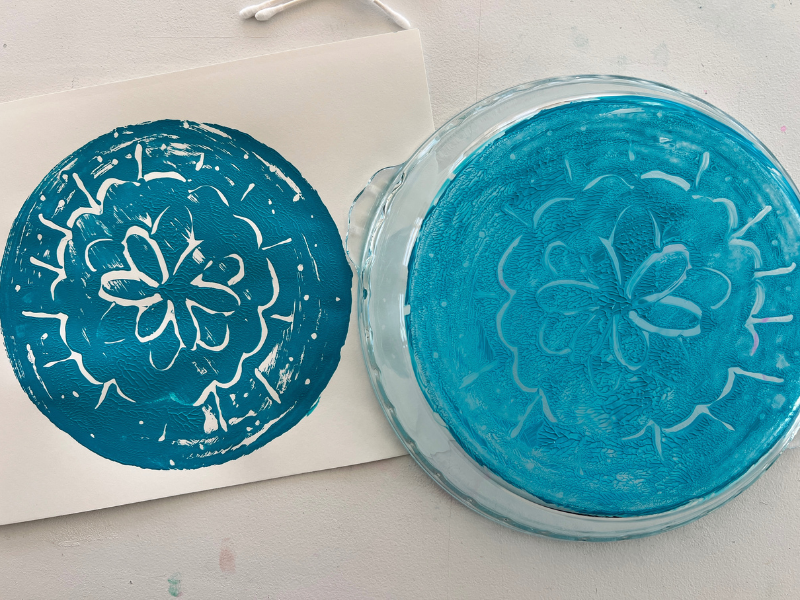
- Make a print
Center a sheet of paper over the dish and press it lightly but firmly with your hands.
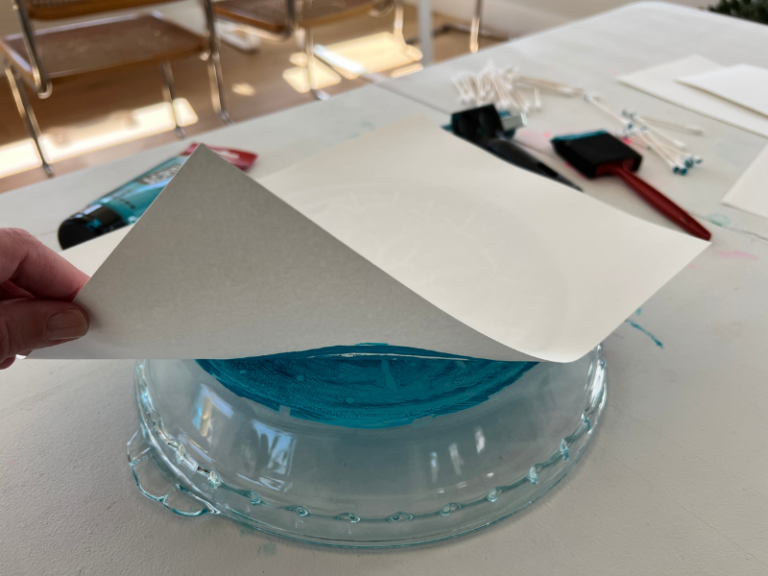
Lift the paper to reveal your monoprint!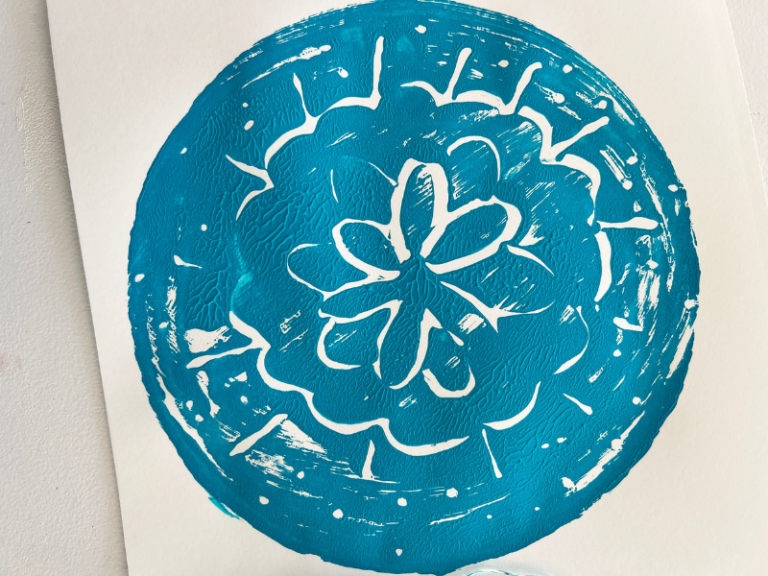
- Repeat!
Roll a new layer of paint over the dish and repeat.
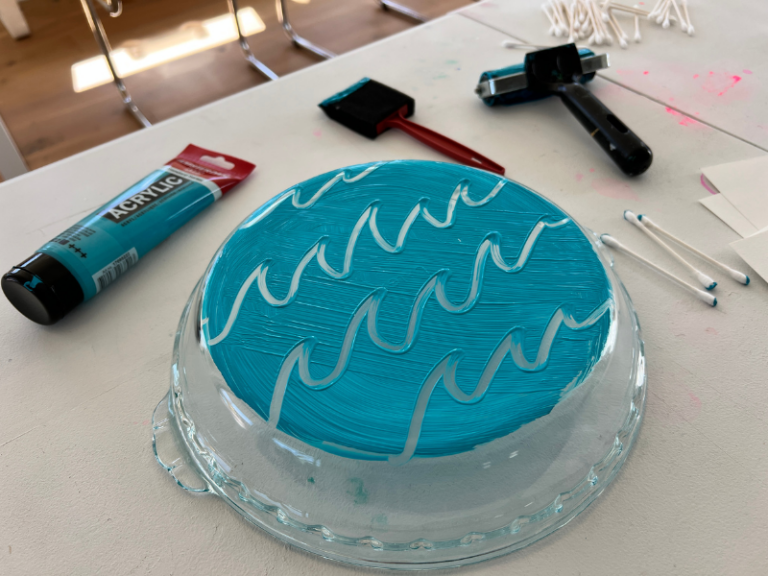
Note: If you’re using a different color, you might want to rinse the dish off first.
That’s all there is to it! So easy and so fun.
How about you? Have you tried monoprinting with kids?
More Ideas for Printmaking with Kids
- How to Do Printmaking for Kids
- How to Do Muffin Tin Printing with Kids
- Foam Printmaking with Kids
- 6 Easy Paper Marbling Techniques
- How to Do Balloon Printing for Kids
- Painting with Bubble Wrap for Kids
Pin It for Later