This post about making a DIY Kids Travel Journal for Location-Inspired Art was written by Katie Watson
I’d like to share a project my son and I have been playing with recently—his Explorer’s Notebook.
We recently moved from the Midwest to Washington, DC, and we’re loving all of the exploring that comes with resettling. I find all the new settings inspiring to my own creativity—and I’d been thinking about how to let my son express some of what he’s discovering, too.
Then I attended a DC Public Library Creative Class workshop where I made a little book using old maps and photos, and Toby was fascinated by it. So we created his kid-sized Explorers Notebook or Travel Journal together, and now he’s filling it with little scraps and scribbles of our life here.
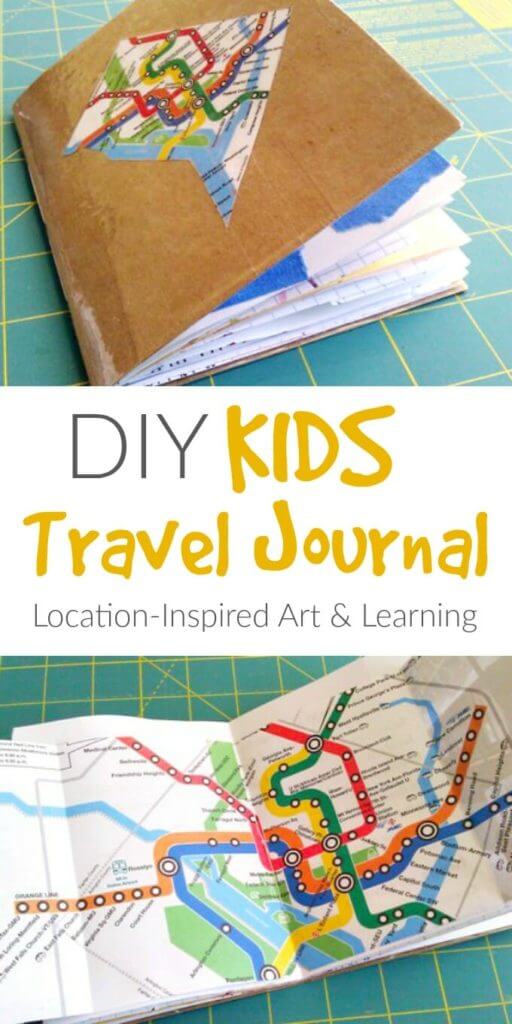
DIY Kids Travel Journal
This project is for parents and children to work on together. Depending on your child’s age, there are some steps you’ll need to do all on your own. But at any age, your kids can help you find papers to use, and, of course, once the book is finished it’s theirs to fill.
MATERIALS
- Paper (white, graph, parchment, tissue, card stock, etc)
- Maps
- Push pins or other pin
- Dental floss or embroidery thread
- Binder clips
- Glue
- Packing tape
INSTRUCTIONS
STEP 1 :: Assemble Your Papers
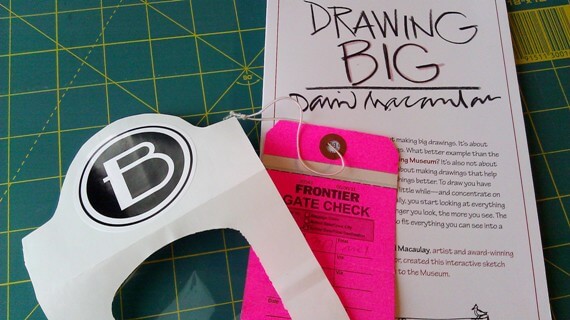
To start, you’ll need a handful of paper. I used some plain computer paper, graph paper, colored parchment and tissue paper. Then I found some bits and pieces that we’ve collected—brochures from local attractions, maps, and pictured below there’s part of a bag from a favorite pastry shop. You’ll see that plastic window later. Because we were using this book to record my son’s exploring, I tried to use papers that reminded him of places around our city.
STEP 2 :: Cut Your Paper
Once you’ve got your papers, cut them to size. To keep it simple, I went with half of a standard sheet of paper, making my cut pages 8 ½ x 5 ½ and my finished book 4 ¼ x 5 ½. I cut down some maps and brochures to the same size. For fun I also cut some graph paper extra long to make fold-out pages.
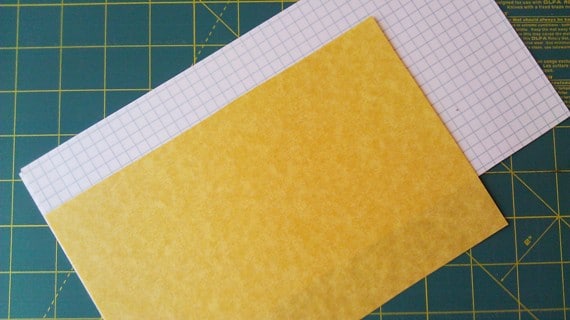
Above you see the parchment cut to the regular size, and the extra-long graph paper. Below, you see how I folded the long sheet.

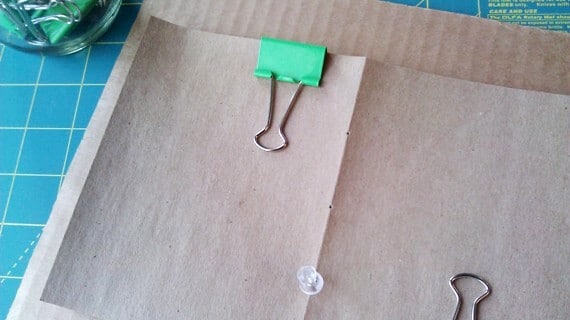
I found that about 10 sheets of paper makes a good sized book. Cut them, fold them individually, and then stack them together. If some pieces (like the pastry bag from above) aren’t as big as your other pages, that’s okay—the little tabs add interest and work themselves into your child’s drawings in fun ways. I added a piece of brown cardstock for the cover, and then clipped the stack together to hold everything in place.
STEP 3 :: Bind Your Papers Into the Travel Journal
To bind the pages, I poked three holes in my book with a push pin. Note the cardboard underneath to protect the table. I sewed my pages together using, um, dental floss. Don’t laugh, it’s strong and the waxy coating makes the knots stay in place. I used a three-hole pamphlet stitch (step by step instructions here), with the knot on the inside.
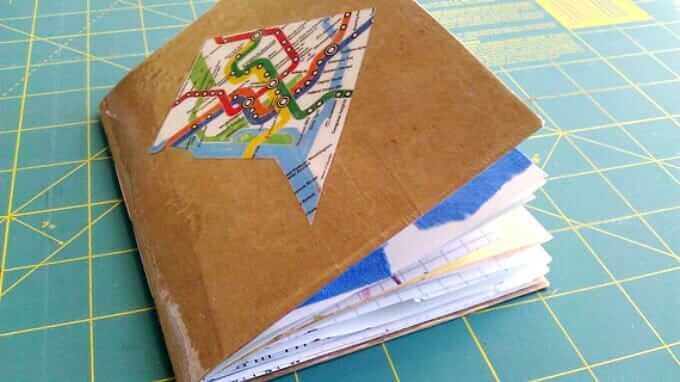
Step 4 :: Add a Map to the Cover
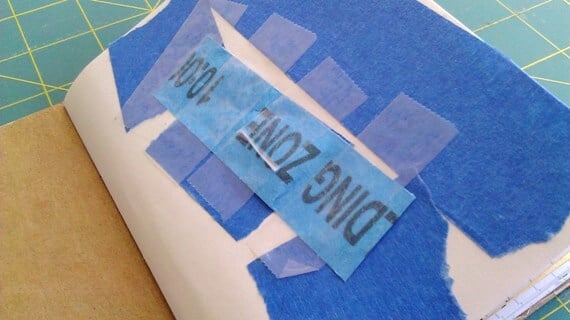
I tried gluing a map to the front cover, but it wasn’t looking very sturdy. So in the spirit of using-what-you’ve-got I pulled out that favorite Jr. High DIY trick: packing tape. I laminated the front and back covers with tape, and then handed the book over to my son.
Step 4 :: Use Your New Travel Journal
The first thing he wanted to do was add more tape. He added an event wristband with masking and scotch tape.
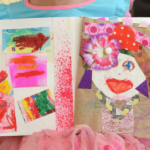
We also spent some time painting in our notebooks. Here’s a shot of his work on the pastry bag page with the window. He spent some time trying to paint on the window, but it didn’t really stick.

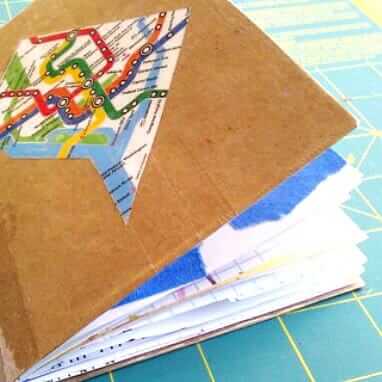
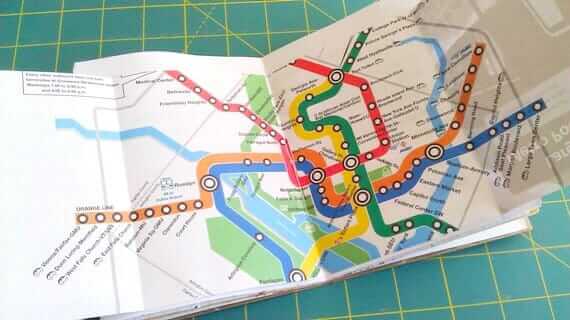
And just because I like it, here’s a picture of the fold-out centerfold. My son loves subway maps, and I’m kind of surprised he hasn’t drawn on this page yet.
My son’s art is not yet representational—so I think this will be a fun way to explore location-inspired artwork. Some ideas ::
- Can’t draw local landmarks? Scribble on top of photos of them.
- Make rubbings of textures or tracings of leaves.
- Glue in scraps of nature or wrappers & papers that we find along the way.
- Or simply experiment with pencils or markers or paints while sitting at your favorite park or waiting for a train.
And yes, it doesn’t hurt that our Travel Journal / Explorer Notebook also functions something like a coloring book. The different pages and pictures serve as prompts that can encourage my son to work on his own during those times when it’s convenient to have him sitting still. I’m planning to make another airplane-themed book for an upcoming cross-country trip.
There are so many ways to switch up these travel journals depending on your child’s age and interests. Here are some ideas ::
- Use interesting shapes and materials (I’m now on the lookout for interesting shapes, textures and cutouts in the things we usually throw away.)
- What about sewing in a few pages of your child’s excess artwork?
- Or photocopying some pictures of family members and sewing them in as pages in the book?
- And, of course, there are countless ways to fill up the pages.
Location is a strong influence on all of our creative work, and having a kids travel journal or location-based notebook lets them explore, record and share what they notice about their surroundings.
About the Author
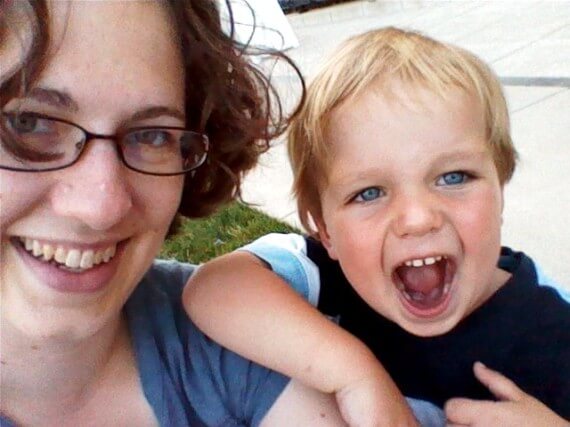
Katie Watson loves art opportunities that get art-phobic people creating. She has used group art projects at community centers and churches to encourage groups to get to know each other and to explore their beliefs. Now she finds herself pulling out those skills again as she tries to convince her very active 3 year old son to slow down and put a crayon to paper. Katie has written church curriculum for elementary students, and just started blogging at https://attableblog.blogspot.com/.
Pin It for Later