Make a colorful melted bead suncatcher mobile that is fun and easy to do with kids. It makes a lovely gift too!
Updated May 2022
We have made many different kinds of melted bead suncatchers over the years. This has been such a fun and popular crafty activity in our homes.
But if you’re looking to take your melted bead suncatchers a step further, or if you have someone special in need of a mobile, then this is the craft for you!
Remember: melting plastic is not good to breathe, so be sure to follow the directions closely and do this project outside!


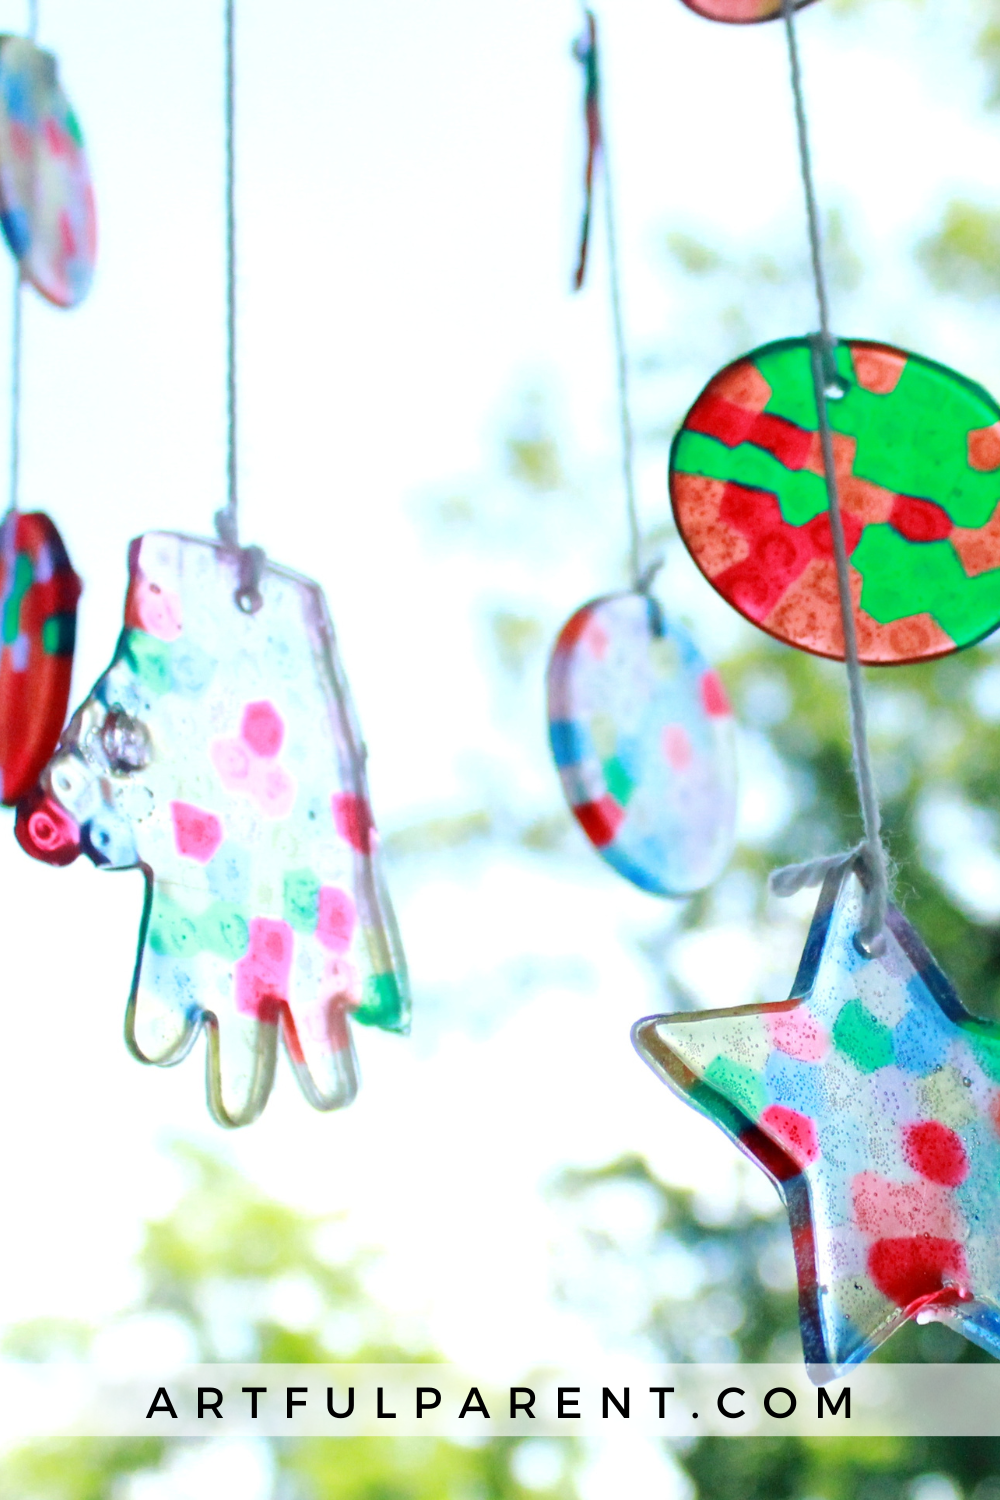
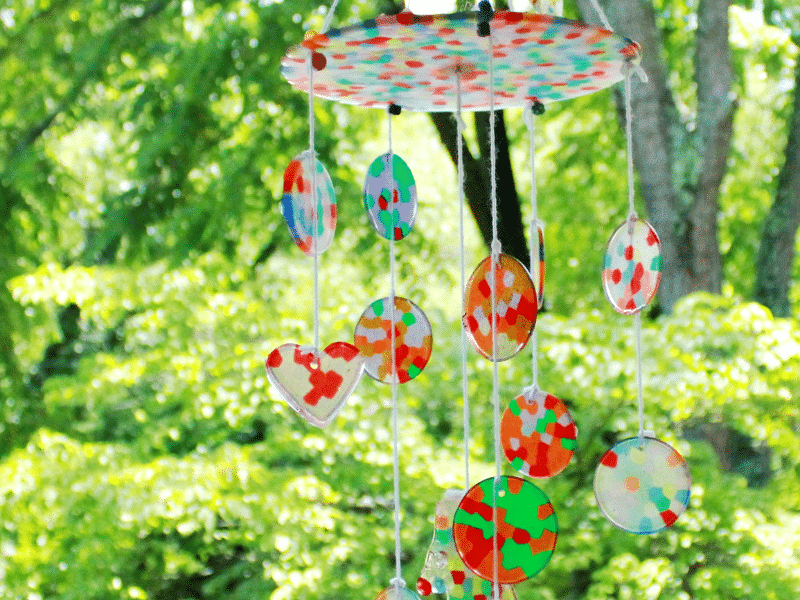
A Melted Bead Suncatcher Mobile
MATERIALS
- Translucent pony beads
- Glitter pony beads
- Metal cookie cutters
- Metal baking dishes, including a pie pan
- Gas grill
- Electric drill
- String
INSTRUCTIONS
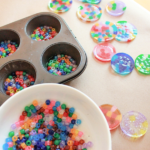
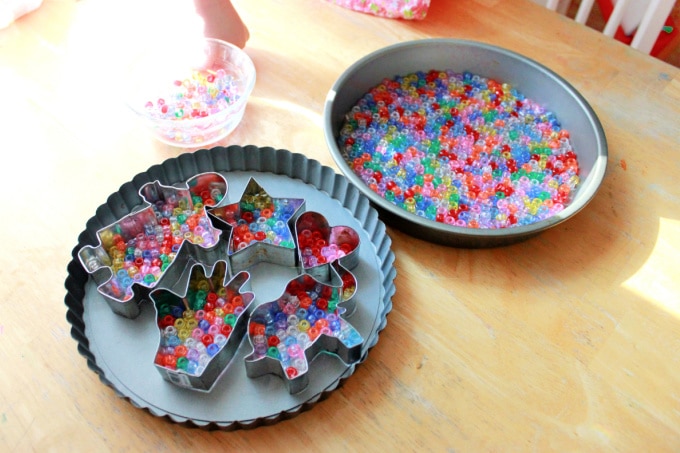
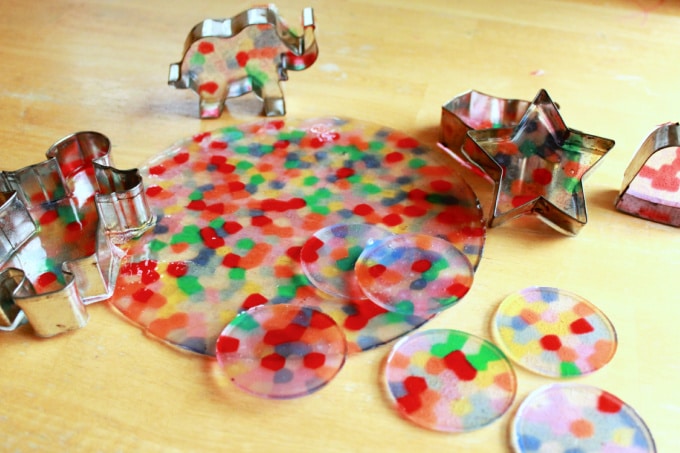
- Arrange beads within cookie cutters
To begin, arrange your pony beads into the suncatcher shapes.
This time, in addition to the cake pan and muffin tin suncatchers that we’ve done before, we tried some metal cookie cutters for fun shapes. We placed the cookie cutters in a metal pan and then arranged the beads inside.
There might be a tiny bit of leakage out the bottom of the cookie cutters, hence the pan underneath.
- Melt the suncatcher shapes
Important Note! The melting plastic is not good to breathe, so this step is best done outside.
We make all of our melted bead suncatchers on the gas grill outside so that we don’t get any toxic chemicals inside. The grill works great and only takes about 10 minutes! You could also use a toaster oven outside. But whichever way you melt the beads, be sure to do so outside!
And if you are doing more than one pan at a time, it will probably take longer to melt.
- Let cool
Once the suncatchers are cool, invert the pans and they’ll pop right out! We found that the cookie cutter shapes did not pop out as easily, but they did come out eventually!
- Drill holes
Use a power drill to drill a hole in each shape in order to hang it up. Each small shape gets one hole and the cake pan suncatcher gets five holes around the perimeter and one in the center.
- Assemble the mobile
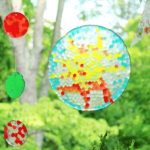
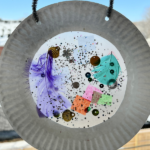
Finally, assemble the baby mobile with string. The idea for the baby mobile was to use the big cake pan suncatcher as the top and hang all the little shapes from it. (You could also do this with an embroidery hoop at the top.)


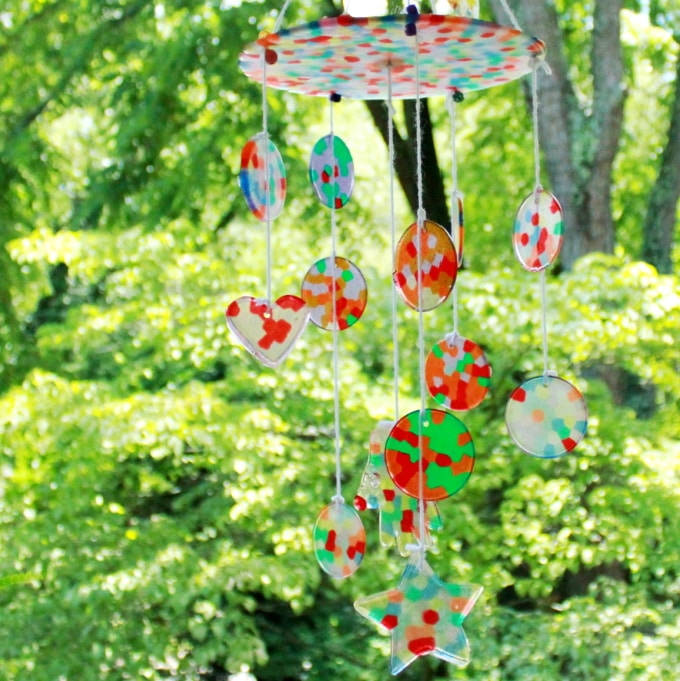
The mobile is so lovely hanging in the light! This makes a perfect new baby gift, hung above a crib where the new baby will be able to look up at it and enjoy the sunlight shining through the colorful melted beads.
More Suncatcher Ideas for Kids
- How to Make a Suncatcher with Beads
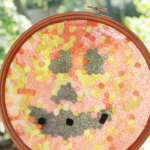
- Suncatcher in an Embroidery Hoop Frame
- How to Make RAINBOW Plastic Bead Suncatchers
- Make a DIY Fairy Wand with Pony Beads
- 7 Ways to Make Melted Pony Bead Suncatchers
- How to Melt Beads to Make Suncatcher Hearts
Pin It for Later