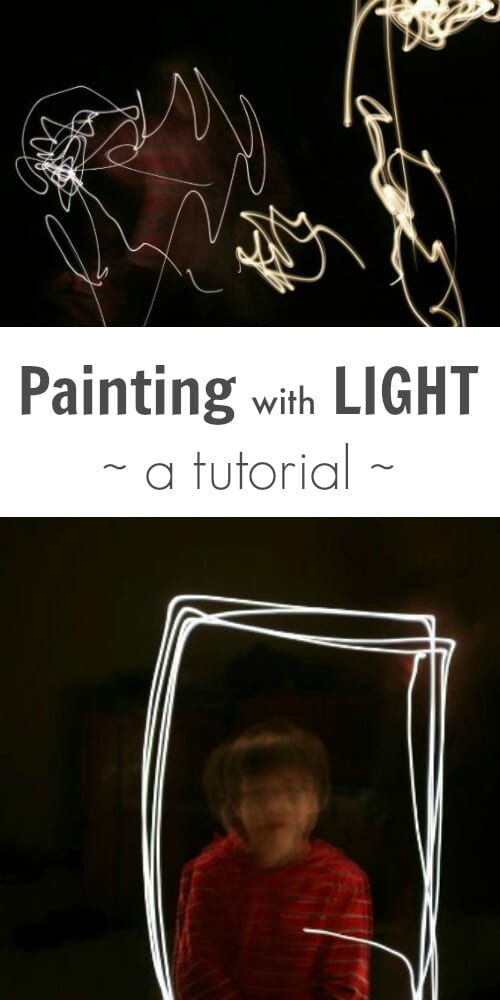
Hello Artful Parent Readers! As the daylight hours get fewer and the weather turns colder I find myself looking for projects that can be done inside or in the dark. I’m an avid photographer and I love getting my children involved in what I’m doing. Lately, we’ve been painting with light, just like Pablo Picasso.
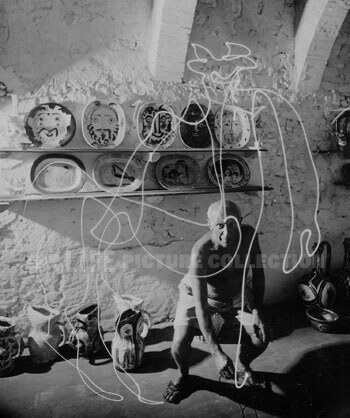
Photo taken by LIFE photographer, Gjon Mili in 1949
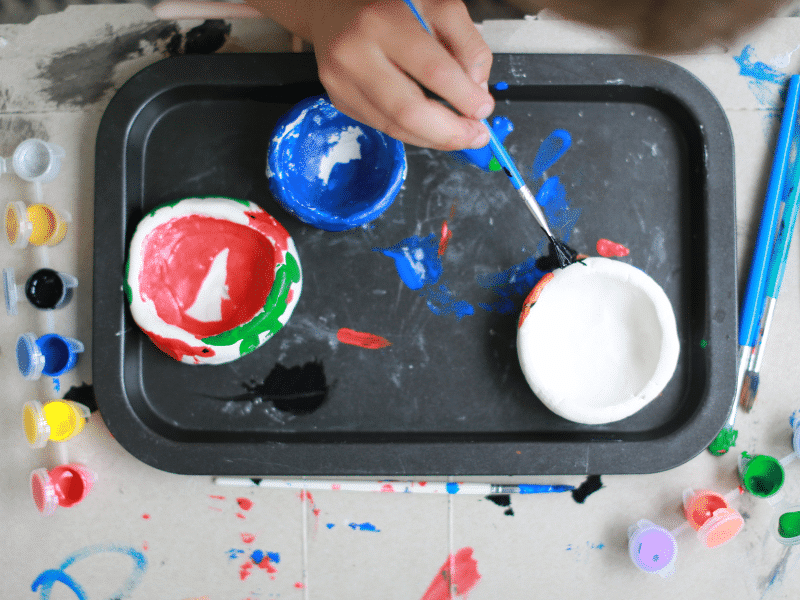
Painting with Light Instructions
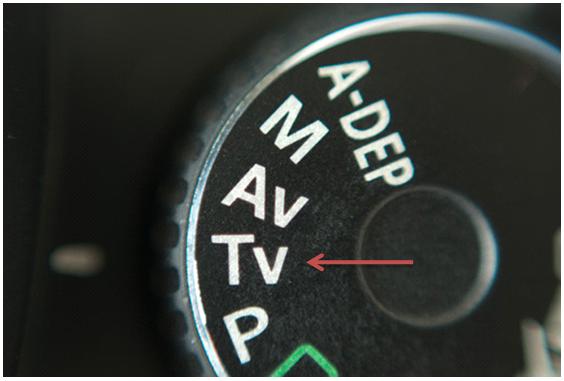
All it takes is a camera that allows you to change the shutter speed (like an SLR), a flashlight, and a willing participant. I placed my camera on a tripod, but you can use any stable surface like a table or a chair to keep the camera steady. The key to painting with light is a long shutter speed – several seconds up to a few minutes. You may have to consult your camera manual if you don’t know how to do this, but most SLR cameras come with a Shutter Priority mode that’s usually on the main dial.
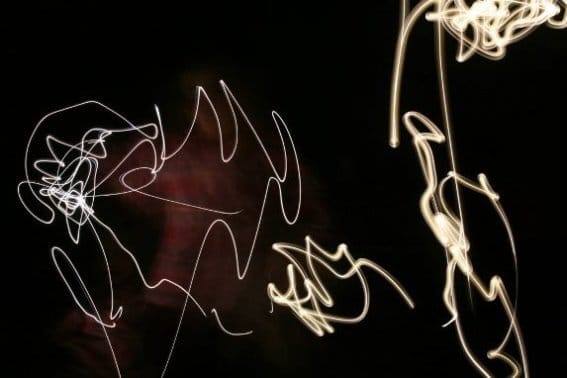
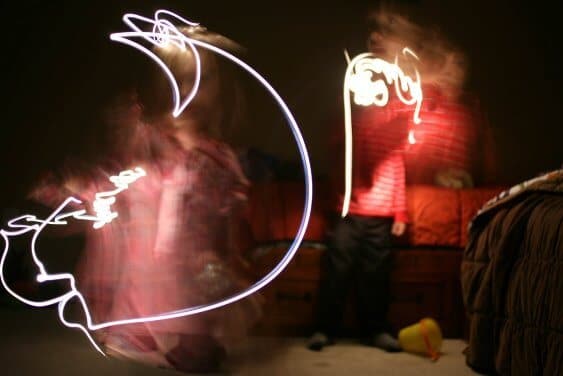
I set the camera to 15 seconds, turned off the lights and let the kids loose, flashlights blazing, before I pressed the shutter button to begin the shot. They waved the flashlights around, danced, drew flowers and dragons and even attempted to write their names. I ended up with about 10 pictures before they got tired of the “painting” and moved on to shining flashlights on each other, the toys, and turning them off and on repeatedly.

We tried a few different time spans, but 15 to 30 seconds seemed to work well for my children because they wanted to see the results on the display screen of the camera immediately after each shot. Showing them the pictures helped keep the activities going longer since they could see the effects of their motions with the flashlight and try again.
Here are a few ideas we will be trying next time: turning the flashlights on and off, using the blinking setting on a LED pen light to get dashed lines, shining the light on objects or faces to make them appear in the photo, and trying other objects that light up to see what effects we can create.

Trouble shooting: 1) Set the ISO on your camera to the lowest setting to get the darkest possible background. My camera goes down to 100 ISO. 2) If you’re having trouble getting the camera to focus in the dark, try having your child shine the flashlight on themselves. Once you’ve got the focus set, you can change your camera lens from Auto into Manual and you won’t have to keep resetting it for each shot. 3) We took the cover off the flashlight bulb to allow the light to be seen more easily in the picture when the light wasn’t pointed directly at the camera.
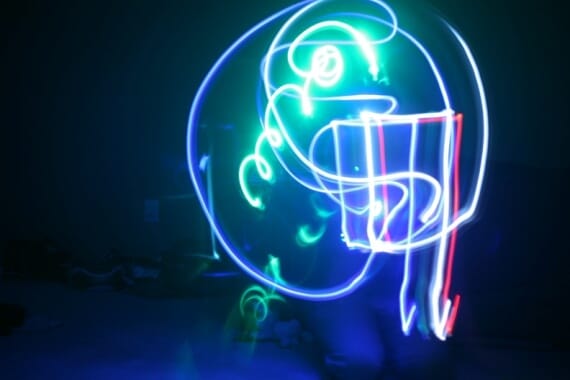
Painting with light :: using different colors
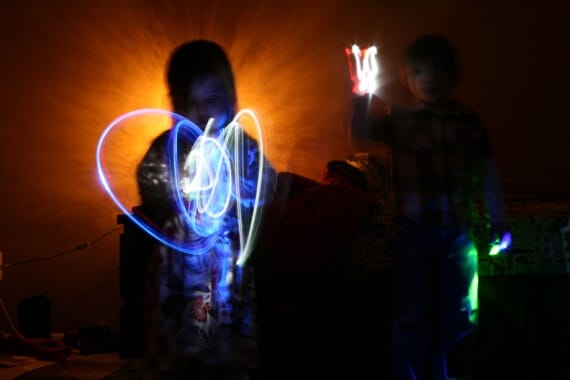
Painting with light photography
About Angie Dornier

Find me at anngeedee.com, and on Flickr.
Pin It for Later ::